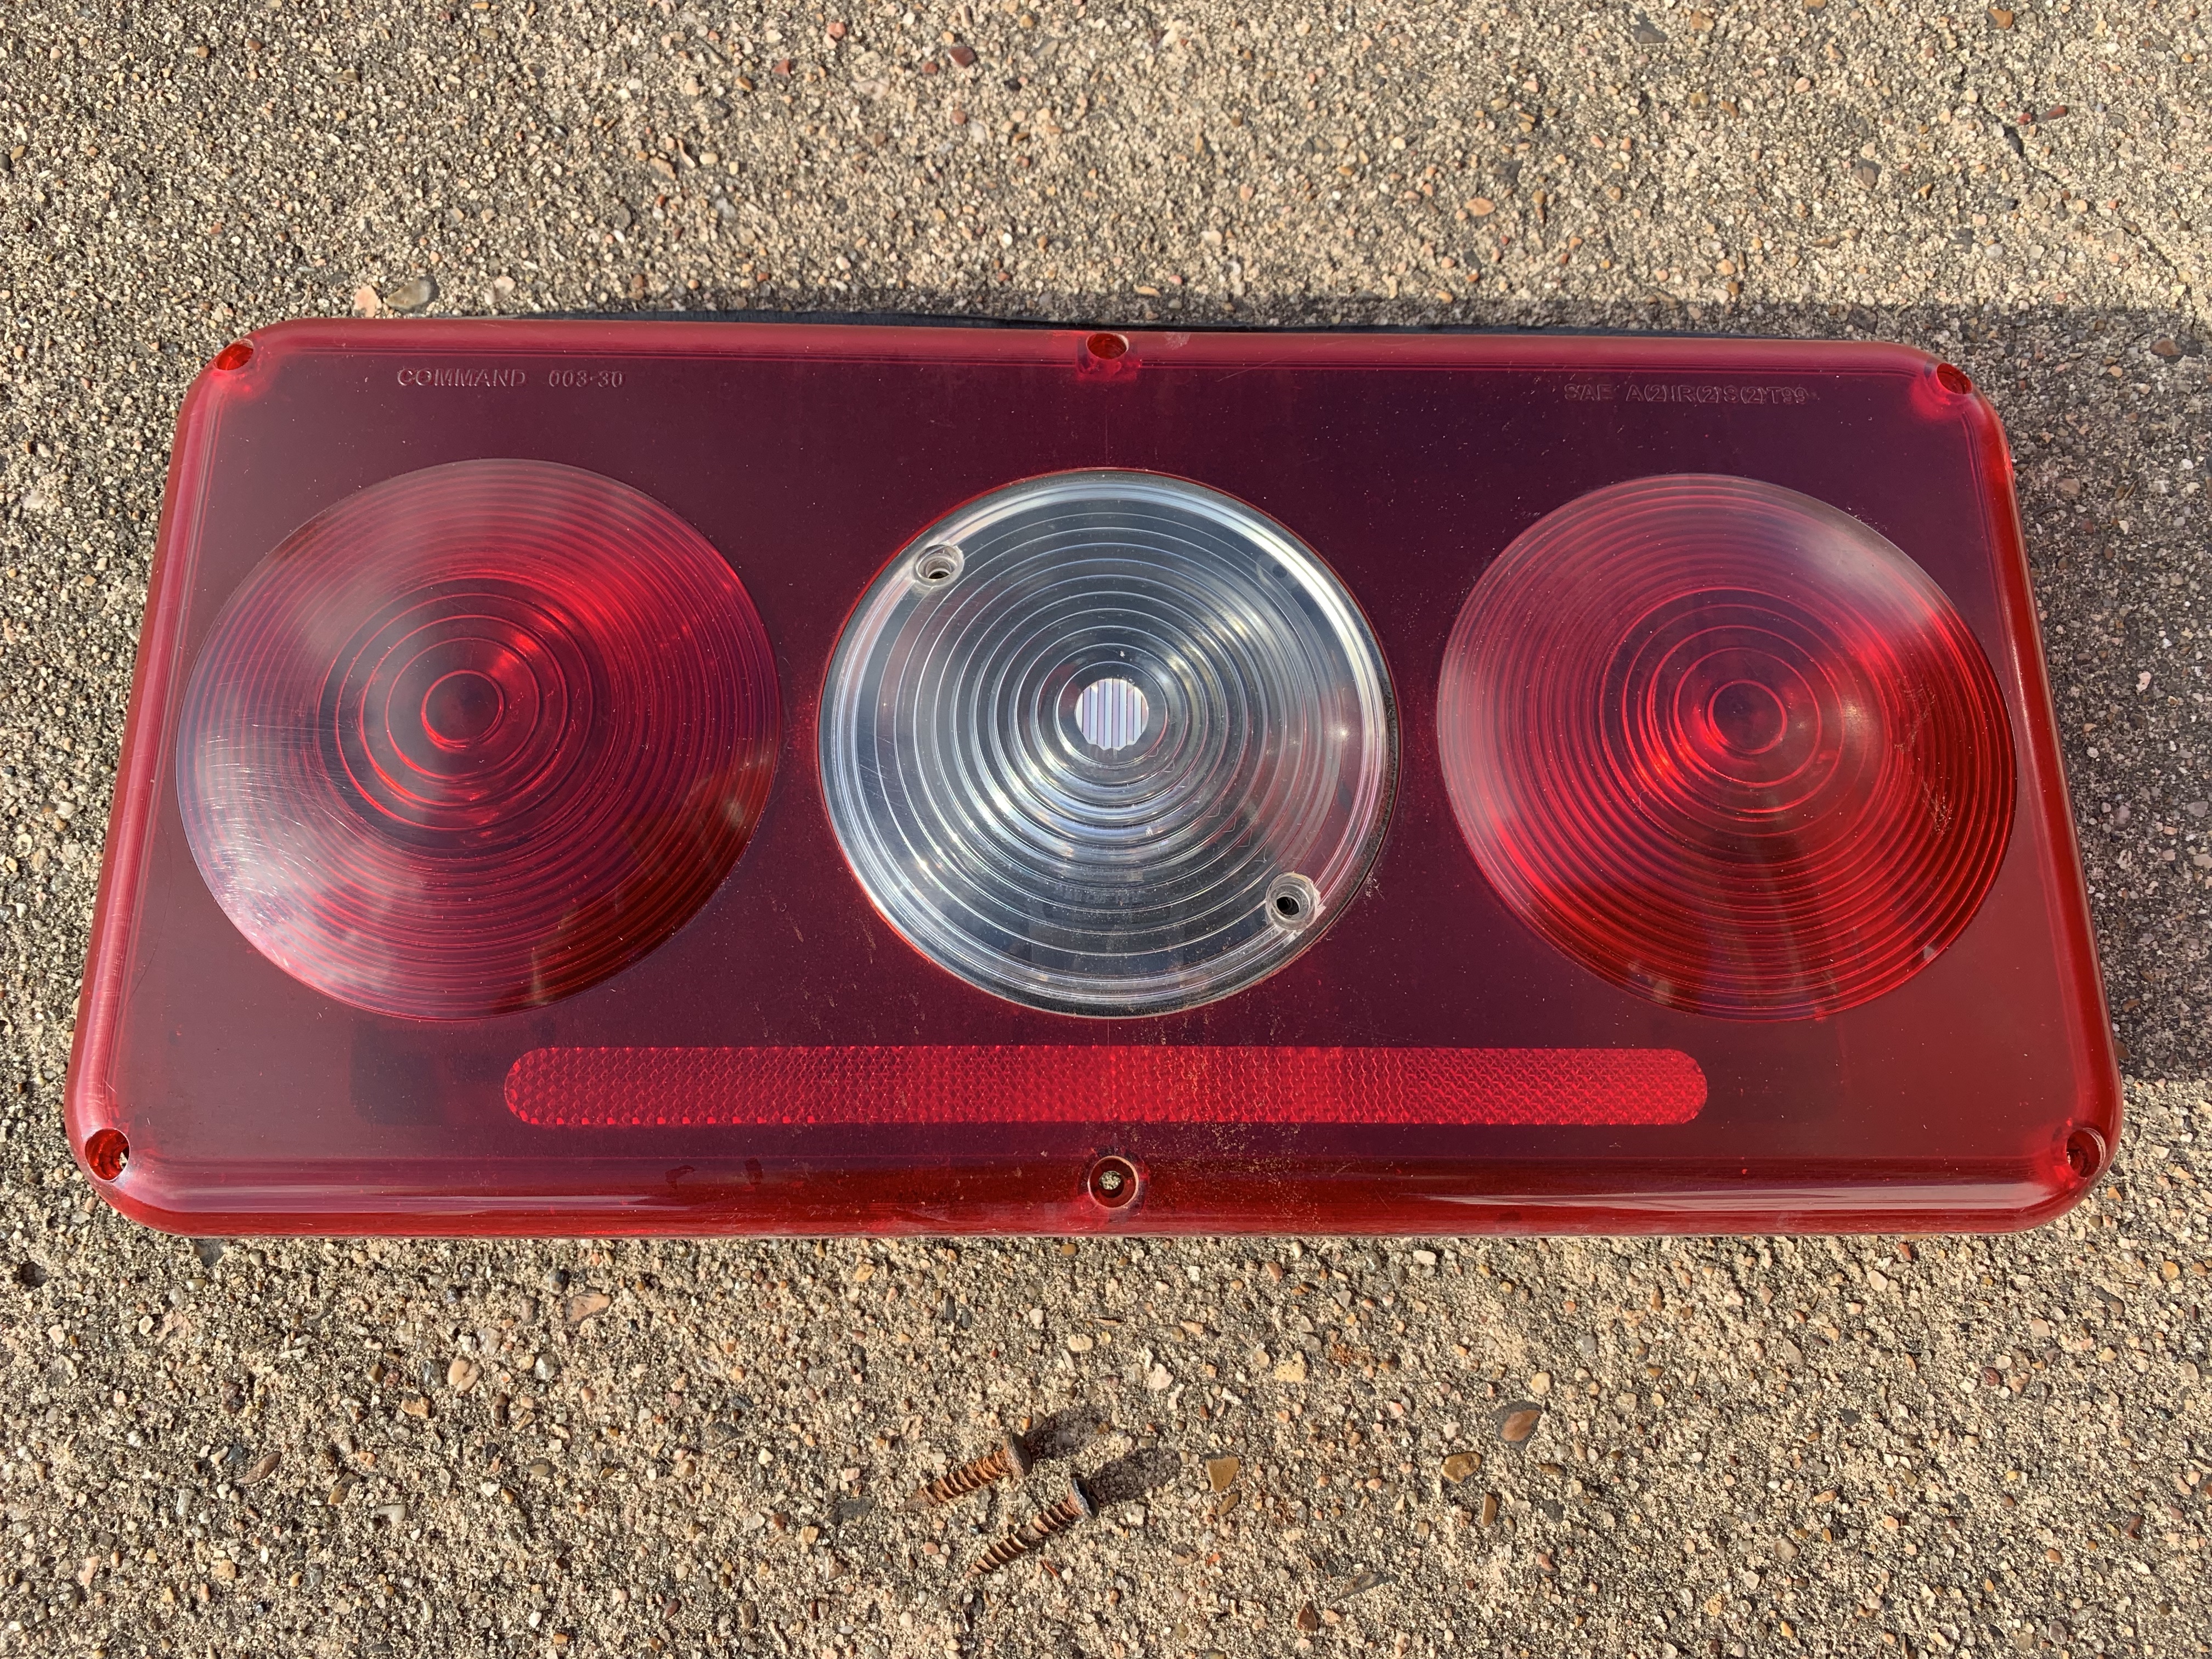

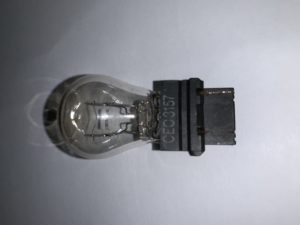
In preparing for our trip to Colorado, I noticed we had a tail light not working on the motorhome. We can’t go on a road trip with a nonworking light! I better get this fixed ASAP! I removed the screws from the lens of the light fixture. Once I removed the lens, I noticed moisture on the inside of the light assembly. Not really thinking much about it, I removed the burned out bulb. In looking at the bulb, it appearead to be ok. After further inspection, I noticed that the contacts on the bulbs had rotted off.
I decided to remove the light bezel assembly to check into this further. The assembly fits into the back wall of the motorhome. Inside the wall, the plywood was wet and the plywood had started to delaminate. So now a simple project of changing a lightbulb, turned into a repair of the wall and light assembly. I also noticed that the light cannot seal against the back wall of the motorhome due to the fact that the factory decided to run the license plate light wire out of the tail light fixture, along the wall into the back of the license plate light. With no effort to conceal the wires and no effort to waterproof, it it was truly a shoddy show of workmanship from the factory. After a little research I discovered that replacing the light fixture with a different style would be the best option. I decided to go with the Bargman 34-84–009 light fixture.
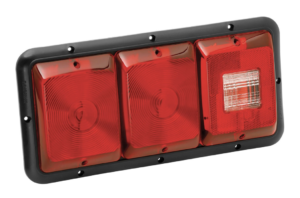
The best thing about the Bargman lights, is the bezel assembly can be permanently attached to the coach with sealant, and access to the lights are via the three lenses. This is a much better system than the original light fixture. The new light fixtures are approximately the same height, width and depth as the original. However, the backside is a bit taller and the original cut out needs to be squared off and enlarged in height approximately an inch. I used a router to perform this task. Now that I have squared off and made the cut out larger, it was time to reroute the wires to the license plate light. I decided to coat the inside of the wall with a rubberized paint, this will protect the plywood should water get in behind the light again. With the paint dried, it was time to install the new light fixture. Now one would think you would wire black to black, green to green and white to white. Once again this is an RV and that is not the way they (manufacturer) wire light LOL. For whatever reason, it’s black to green, green to black and white to white. You have to wire it this way so that the brake/turn light is brighter then the tail light. Once I figured that out, I was able to finish installing the light and run a bead of ProFlex RV sealant around the light. We are all watertight and ready to go. I suggest you check your lights to see if they are leaking water behind them.


Leave a Comment